
Belay Test Guide: Basics for Safe Climbing
First introduced in 183, tubular belay devices—with Jeff Lowe credited for the first design—changed how climbers manage rope. In 1991, Black Diamond released the ATC (Air Traffic Control), a simple tube-style device that quickly became the industry standard.
Today, assisted-braking devices like the Grigri, Pilot, and Smart 2.0 continue to advance belay technology and prioritize safety. But no matter which device you use, you still need solid belay skills. Most gyms require you to pass a belay test before they’ll let you tie in and climb on ropes.
A Word of Caution
This guide is not meant to replace hands-on instruction or a formal assessment from a qualified instructor or climbing gym. While you’re belaying, your climber’s life is literally in your hands. It’s essential to:
Fully understand how your belay device works.
Practice correct technique under supervision.
Feel confident managing the rope before you belay independently.
Use this guide as a high-level refresher, not as your only source of belay training.
Different Types of Belay Devices
There are hundreds of belay devices, each working slightly differently. It’s generally recommended to learn on a device without assisted braking before moving on to assisted-braking devices. Starting with a simple tube-style device helps you understand how belaying feels and what’s at stake if you let go of the rope.
Relying too heavily on assisted braking can be dangerous because the gear can fail or be misused. Your technique—not the device—should be your primary safety system.
Key Rope Strands
When you’re belaying, you’ll work with two main parts of the rope:
Climbing strand – The part of the rope running up to the climber and the wall.
Belay (brake) strand – The part of the rope that runs down from the device into your hands.
When threading the device, follow the manufacturer’s diagrams so the rope enters and exits exactly as shown. The device should hang cleanly without twists. If the rope is tangled or the device is flipped, it’s likely set up incorrectly, and you will not be able to belay safely. Once the rope is set up correctly, clip the device to the belay loop on your harness with a locking carabiner and lock the gate.
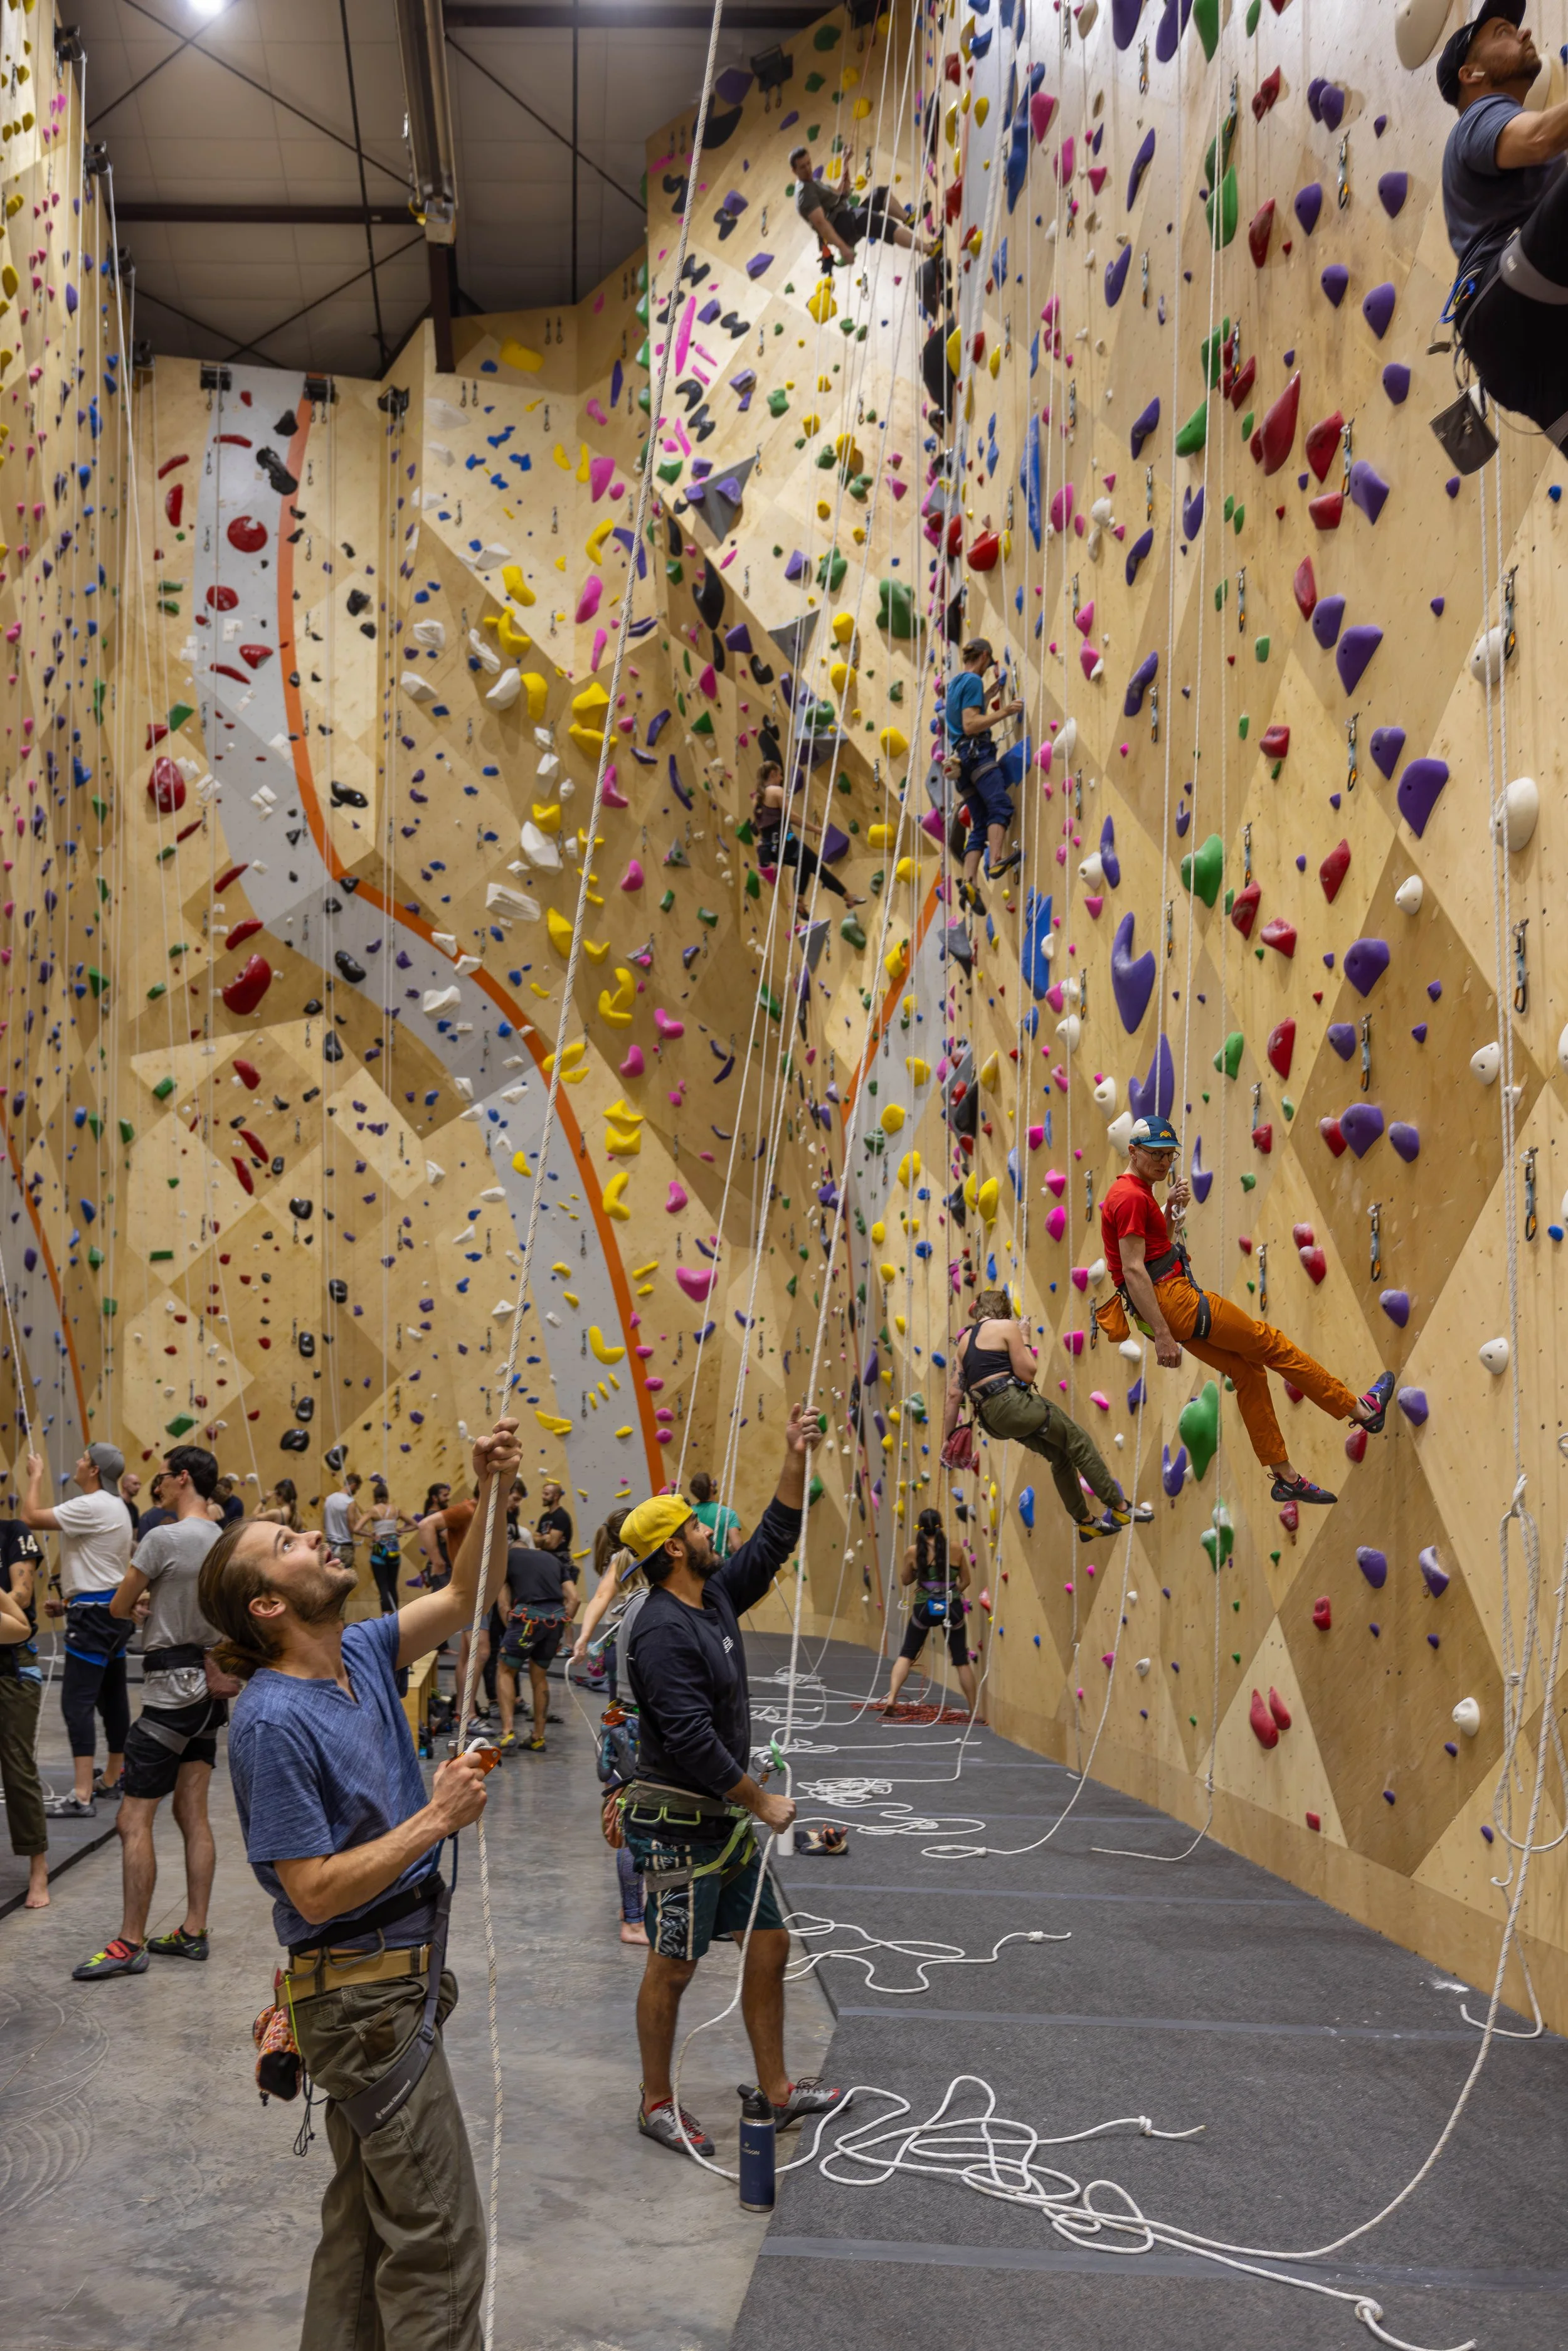
Belaying Basics
When belaying on top rope:
Keep your dominant hand on the brake strand at all times.
Use your non-dominant hand on the climbing strand to help take in slack.
Rule #1: ALWAYS KEEP ONE HAND ON THE BRAKE STRAND.
No matter what happens—your climber falls, you’re distracted, or the rope feels heavy—your brake hand stays on the rope.
The PBUS Method
PBUS stands for Pull, Brake, Under, Slide—a standard, widely taught belay technique for top rope climbing.
Pull
With your dominant hand on the brake strand and your non-dominant hand on the climbing strand, pull down with the non-dominant hand and up with the dominant hand to remove slack (loose rope). Keep the motion in front of your body and avoid pulling past your shoulders. As you get more comfortable, you can manage larger amounts of rope smoothly.
Brake
Bring your dominant (brake) hand straight down alongside your hip, below the device. This is your “catch” position if the climber falls. Here, the device engages and helps hold the load. Remember: two hands are better than one—keep both hands on the rope whenever possible.
Under
Move your non-dominant hand down to the brake strand, placing it below your dominant hand. Leave a small gap between your hands and keep both hands below the device.
Slide
One hand at a time, slide your dominant hand back up toward the device, then follow with your non-dominant hand, keeping both on the brake strand. Make sure your hands stay below the device as you slide so you never lose control of the rope.
Repeat this PBUS cycle as your climber moves up the wall, keeping the rope snug but not pulling them off the wall.
Lowering Your Climber
When it’s time to lower:
Place both hands firmly on the brake strand.
Gradually allow the rope to slide through your hands while the device controls the speed.
Communicate clearly with your climber so they’re ready to be lowered.
Continue lowering smoothly until your climber’s feet are safely on the ground and the rope is slack.
Outdated Method: Slip Slap Slide
The Slip Slap Slide method involves taking slack above the device instead of below it. While it may feel faster, it exposes the system by temporarily opening the device and reducing control over the brake system.
Because of this increased risk, many gyms and instructors do not recommend or allow Slip Slap Slide. The PBUS method keeps your brake hand in a safer, more controlled position throughout the process.
This guide is designed to give you a basic understanding of belaying concepts and common techniques, but it is not a substitute for hands-on instruction. Always:
Take a class or private lesson with a qualified instructor.
Practice under supervision until your technique is solid.
Follow your gym’s rules and device-specific instructions.
Belaying is a serious responsibility. Your climber’s safety—and confidence—depends on your attention, communication, and commitment to good technique.